Have you ever wanted to photograph your own atmosphere stock, but haven’t known where to start. This tutorial takes you through the step by step process of photographing steam, smoke, dust and dirt.
Watch a Sample Here
You will learn:
- What backdrop to use and why
- How to light your elements
- How to use strobes effectively to freeze the motion
- How to ensure deep blacks in the background for easy blending
- How to use blending modes to drop out the black and leave your element
- How to mask your atmosphere
- How to adjust your shots in Raw
Photography Tutorial
Step 1: Setting up your Studio
- Use a black backdrop, velvet if possible to absorb the light
- Light from both sides, point towards the element
- Don’t front light
- Don’t light the backdrop
- Place your element a couple of metres in front of your backdrop

Step 2: Camera Settings
a) Photography
- Use Strobes to freeze the motion
- Set your strobes on the lowest power setting (which will give a shorter flash duration). Set your camera settings to match lighting (keep your shutter speed below 1/200th for camera sync).
- If you want to blur your element, use a continuous light and slow shutter speed
- Photograph lots of frames for a variety of stock

b) Video
- Shoot on slow motion (as many frames per second as your camera allows)
- Light the same as with stills (from both sides slight to the back) but use continuous lights.
- Shoot on a tripod and ensure the camera is completely steady
- Shoot for between 5 – 15 secs each take

Photoshop and Lightroom Tutorial
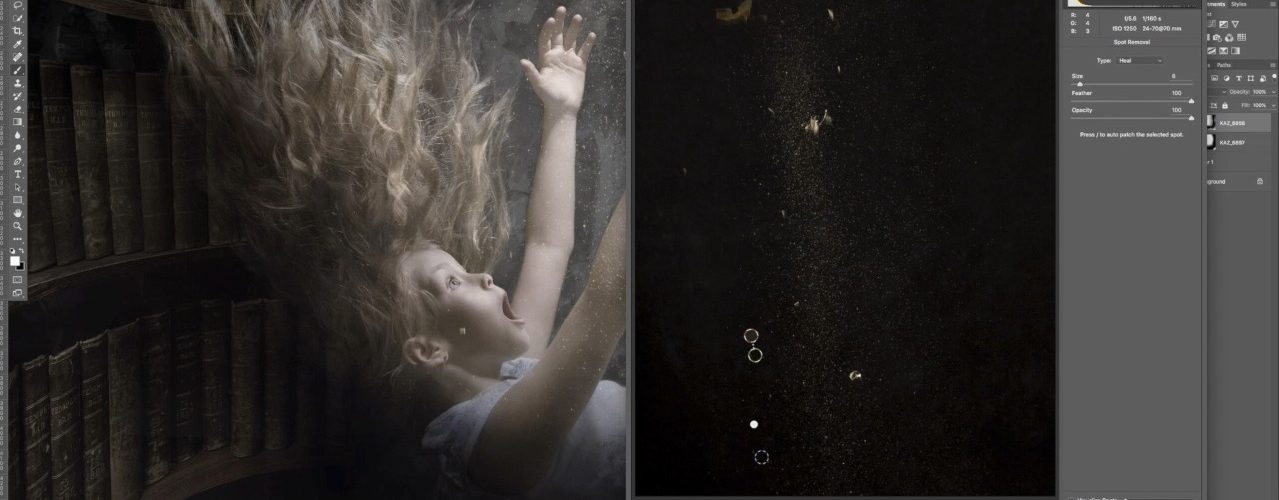
Step 3: Lightroom Process
- Crop
- Adjust blacks (make as dark as possible without affecting the element)
- Adjust exposure, shadows, highlights
- Desaturate if you don’t want any colour shift
- Open as a Smart Object in Photoshop

Step 3: Photoshop Process
- Place your overlay image onto your background plate (as a smart object if possible).

2.Change the blending mode to SCREEN

3. Add a LAYER MASK and mask back areas you don’t want to show

4. Add any Adjustment Layers you want to change the look (colour etc). You may also do this by opening the layer in Adobe Camera Raw if it is a Smart Object.
If you are a member you can access the streaming tutorial and the online instructions from this link: https://storyart.education/photographing-atmosphere-overlays-smoke-steam-dust-and-dirt/ or purchase the downloadable copy here.