
Do you have an out of control Stock Collection? If you are like me and you’ve been compositing for several years, you will have accumulated thousands of photos that could potentially be used in composites in the future. But, have you sorted them, have you key-worded them? Have you backed them up? Do you even know they exist?
I will take you through my chosen process from start to finish in this post. I will also let you in on workflows and programs I’ve tried that just don’t work for me. Perhaps I can save you some heartache.
A Large Collection
I have nearly 15,000 RAW images that I know of in my current stock collection. I’m now ready to sift through my old drives to find even more potential stock images that and add them to this collection.
These 15,000 images take up about 500gb of space. I have wanted to back these up online for some time and have ‘anywhere access’. Internet speed here in Australia has been a major hurdle in this, but having recently moved to NBN I know I can at least get a new shoot up online within an hour or so.
Where to Put It?
The stumbling block was how to get 500gb up to start with and where to put it!
I solved the first problem by finding a friend that allowed me to use his fast upload connection. If you don’t personally have fast internet, consider finding someone (or even a commercial connection) that you can upload that initial catalogue too. But remember to sort it out first. I had a lot of duplicates and JPEGS of the RAWs that I did not need to upload. I’ll go through my process shortly.
Local Storage
When I first started compositing and collecting stock, I didn’t backup… I know, I know, silly right! Thankfully I didn’t lose my first year or so of stock images – playing a dangerous game only having one copy. My thought process had been that I back up my client images multiple times, online, remotely and locally. But my own stock collection I didn’t feel was important. I now know just how important it is. As my collection has grown I have backed up the folders to multiple drives (one I carry around with me on an SSD and back up drives at home).
As I would shoot, I would come back, download the photos and put into folders on one of the drives. I would then sync the drives so they replicate each other using a program for the Mac called: Folder Sync
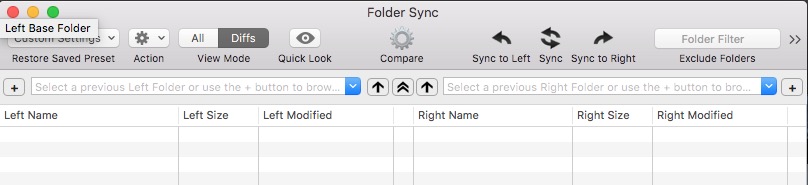
Syncing in this way meant that it didn’t matter if I was out on location downloading the files to my external SSD or if I was at home in the studio downloading to the desktop drive, I could always sync them all and have them backed up the same in multiple locations. If you are like me and access your stock on different computers in different locations I recommend a file sync utility like this to help keep all your folders in check.
Sorting the Thousands
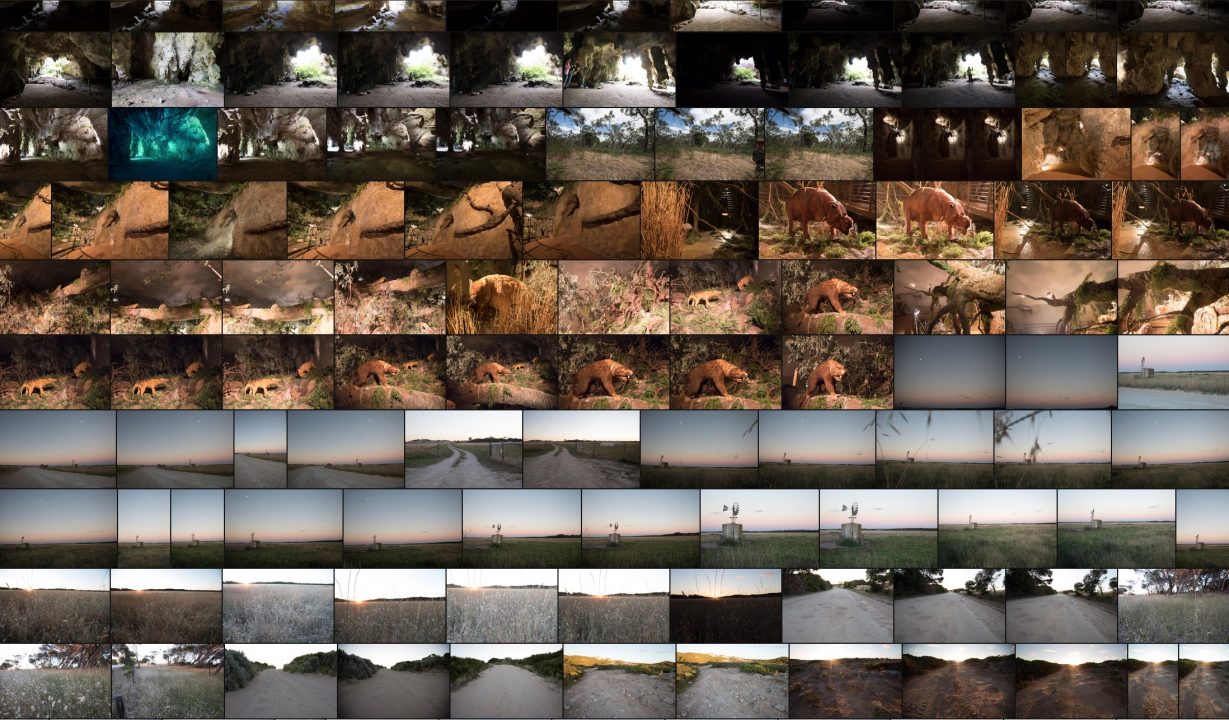
I must admit, I’m a little lazy when it comes to sorting… Surely I’m not the only one? For example I go on a trip (let’s take Vegas and New York) and I take a bunch of photos on various cameras (I often mix between my Sony A7Rii or my Canon 5Div). I don’t have time while on the trip to go through my collection and keyword and sort into folders, so I put them all in a folder called “Vegas and New York”.
Later when I get some time I go through that collection and move some of the images into more appropriate categories in my stock folders like “Gardens, Country” etc. But I’m still lazy and I still should narrow them down more. But at least I have an idea of what I shot on that trip and can come back and sift through… Lightroom CC to the rescue! But more on that later.
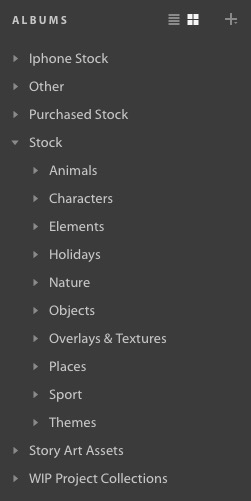
I do recommend having a basic folder structure on your drive that helps you find your images. Below is a screen grab of my local stock drive and the categories that I put them in.
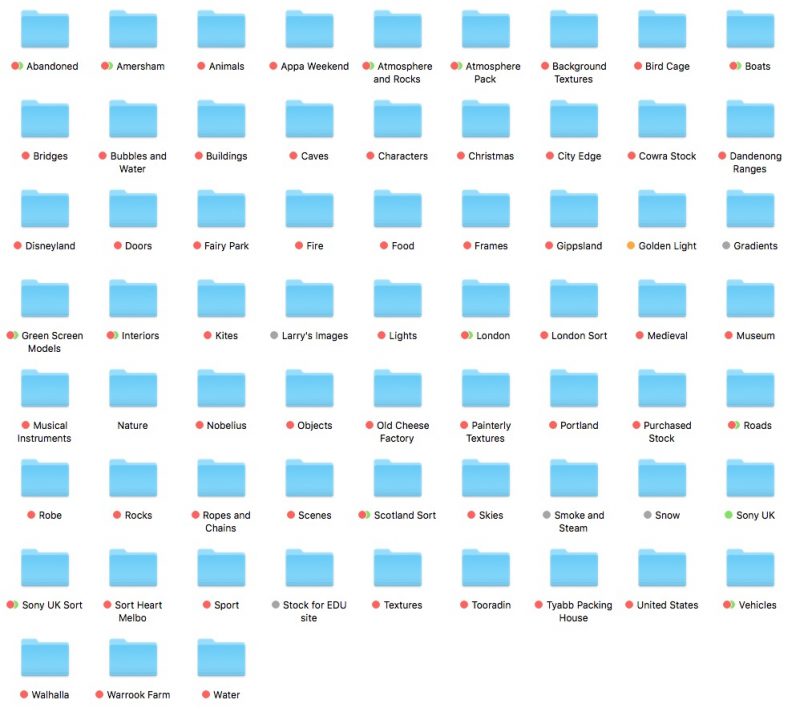
What are those little coloured dots you ask? I added them when I loaded my collection onto Lightroom CC to ensure I had everything copied over. But more on that later.
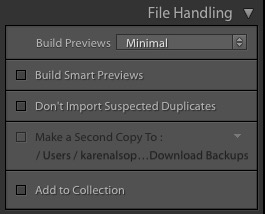
As you can see there is a semblance of order there, at least enough for me to make sense of my collection and come back to find what I’m looking for. This directory can be loaded up in Lightroom Classic – ensure you use the ADD option not COPY, or you will be filling up your hard drive very quickly. If you already have backups of this folder there is no need to create a duplicate copy anywhere else.
I also leave Build Smart Previews off, mainly because there are so many images it would take a long time to build the previews and would take up a lot of space.
You can also view this folder structure in Bridge, or even simply in your finder or in explorer. As long as you know where they are in on the drive, your choice of browser is up to you.
Opening your Files in Photoshop
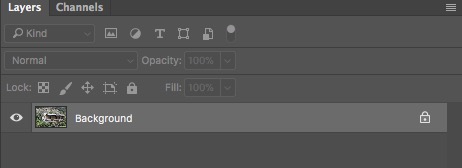
One key consideration though is how you open your RAW files in Photoshop. In order to proceed with a non destructive workflow, and always have access to the RAW data, you should open as a SMART OBJECT in Photoshop. Here’s a little trick to ensure that always happens, no mater where you open the raw from:
The default for Camera Raw is to open in 8Bit, and to open as a FLAT image, throwing away the RAW data.
![]()
Don’t let it do that! You can change the settings permanently so that RAW files always open as 16bit Smart Objects.
Here’s how to change those settings…
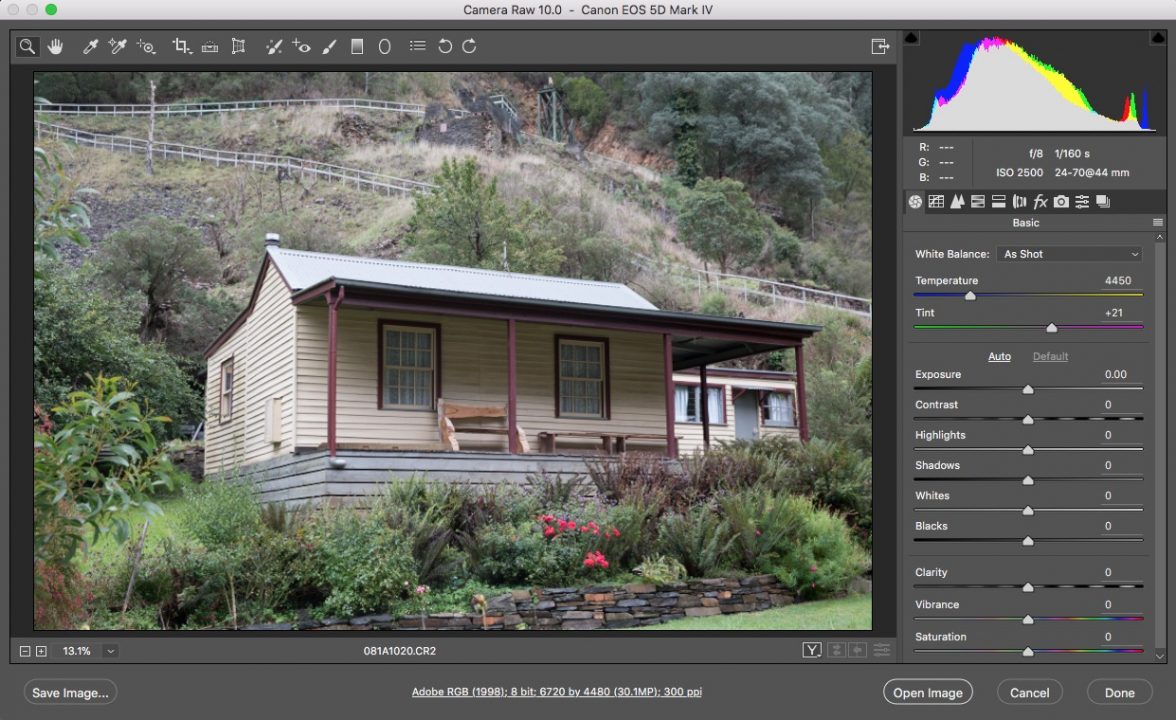
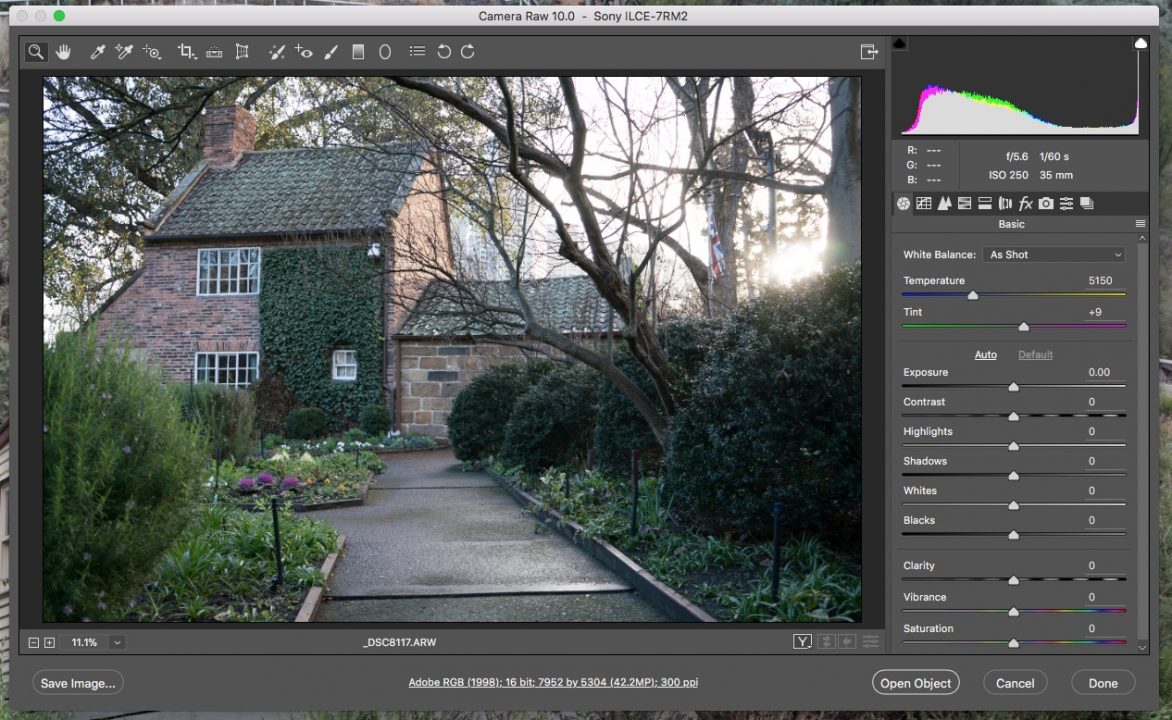
This is how your RAW files open by default. To change the workflow settings click on the underlined words that show the colour space, bit space, size and ppi.
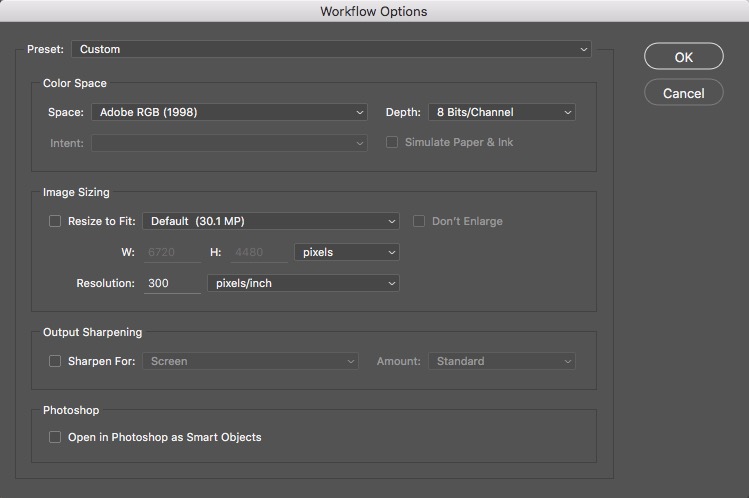
Now, change the Depth to 16 bits first (you should always be working in 16bit if you can, more detail, less banding, and overall higher quality).

The other MAGIC button you need to press to ensure you RAW files always open as SMART OBJECTS (I’ll show you why soon) is at the bottom. Open in Photoshop as Smart Objects:

You are all set! Now every time you open a RAW file in Photoshop your image will load as a Smart Object.
Why Smart Objects?
I won’t go into detail here. There is a full tutorial on why Smart Objects are so important in your workflow here: Photoshop 101; Smart Objects
The short answer is, you will always have full access to the detail of the RAW this way. If you don’t do this, you are throwing away all of that juicy detail, highlights, Shadows and colour.
I may have gotten a little off track with the Smart Objects, but I can’t emphasise how important they are. If you have this set up correctly you have all the tools you need to create a beautifully detailed composite.
So let’s move on to online storage…
Online Storage
Wouldn’t it be amazing if you could have all these stock images available on the cloud? No matter where you are in the world, or what computer you are on, you can pull up your images and create something from you large library.
The G-Suite Solution
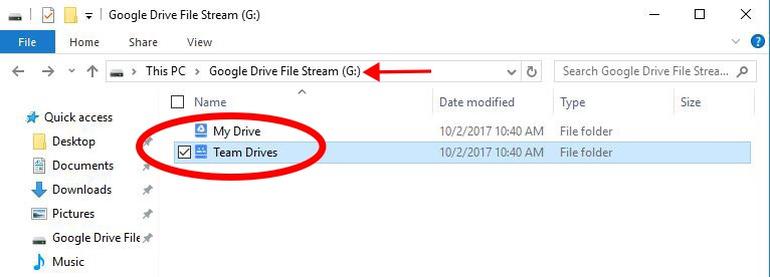
When I came across the new G-Suite Google Drive options I thought this might be a great solution. G-Suite offers a business plan that gives users unlimited storage for $10 per month. They have created a new piece of software called File Stream that enables you to access those files without downloading them again to your computer (the traditional syncing system meant that your files would duplicate on your hard drive through the sync, unless you turned on selective sync).
File Stream mounts your online drive like a network mount and provides you access within your finder.
On the surface this looked perfect! I anticipated loading the drive up into Lightroom Classic so that I could view and edit the RAWs. I also considered saving PSD’s to the drive and having anywhere access.
The Process
I started uploading my massive collection to Google Drive on my friends fast internet connection. I calculated the upload should take 5 hours or so based on the upload speed and data. I ran into some problems part way through the upload.
My friend’s drive began to fill up, quickly!
- Even though the upload was supposed to go straight from my SSD drive directly to the online storage, I soon realised that as I copied using File Stream, the files were temporarily being stored on his hard drive. He only had 200gb free, and my files were over 500gb in total. When I returned to check on the progress the upload had failed and my friends drive was full. I stopped the transfer, and the remaining files uploaded and eventually cleared his drive. But that proved a major problem as I didn’t want to stay on site to monitor the upload.
The upload was SLOWWWWWW!
- After one day only 100gig or so had uploaded. My calculations weren’t measuring up. I had discovered that Google Drive was simply – VERY SLOW!
Loading up the folder in Bridge starts ALL the files downloading to your computer
- The way File Stream works is that it accesses the files when they are needed. So I found that any time I even opened a folder, or tried to view a folder in Bridge, or load into Lightroom Classic, it would try and download the FULL file, ALL the files. Aarrrrgggg! Totally not what I wanted, Please FileStream, don’t start downloading 500gb of data just because I want to view thumbnails.
Google Drive does not play well with Adobe Files
If you try and open a PSD or an Illustrator file from Google Drive you will come up with all sorts of problems. I was encountering errors. Downloads of large files were taking excruciatingly long. And worst of all, Photoshop would crash half way through and edit and the whole file would be lost.
Word of warning – don’t do it, don’t open Adobe Files directly from Google Drive. Move them to your local computer first and work from there.
Another Cloud Solution
I really wanted to continue my quest of having access to my large collection. I had tried several options in addition to Google Drive, and none gave me the immediate access I craved.
Lightroom CC (the mobile version) had launched earlier in the year. I had already been playing with it for my iphone stock collection. I wanted to try it for my stock as it seemed like the perfect solution, but my first hurdle was upgrading my account so that I had the 1tb I needed.
Lightroom CC Storage Space
If you have a current CC membership you get 100gig storage with Lightroom CC. This may be sufficient for many of you. I required however a lot more space.
If you want a trial you can get one here: https://www.adobe.com/au/products/photoshop-lightroom/free-trial-download.html
I was a little confused when I went to upgrade space as it seemed to me the upgrade would replace me current full subscription with a LightroomCC only subscription. I didn’t want that to happen of course, I just wanted the extra space.
I want to reassure you, selecting this plan will not replace your current plan, it will add the new plan of 1tb space to your current membership.
To upgrade to 1tb follow the instructions below:
- Visit https://assets.adobe.com/files and log in with your CC membership
- Look at the bottom left of the page and click on ‘Upgrade Storage’
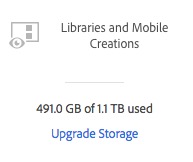
- You will be presented with the upgraded storage in your currency (it’s a little more in Australia)
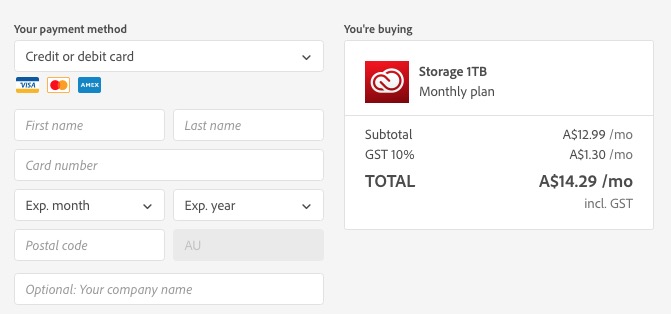
I’ve jumped ahead again, haven’t I? Why would you upgrade if you don’t know what this solution offers…
Let’s get to that shall we?
Lightroom CC for your Stock Collection
When I started loading my stock collection into Lightroom CC I was firstly thrilled that the files were not taking up space on my friend’s computer! That solved the problem of me needing to be there when they uploaded.
As I hadn’t pre sorted my stock collection properly I needed to do this as I set up Lightroom CC.
Here are a few pointers to loading your collection into Lightroom:
- You need to set up folders and albums on Lightroom CC if you are importing from a drive. Lightroom CC will not automatically create folders int he same structure as your hard drive.
- JPEGS will not automatically stack with RAW files like they do in Lightroom Classic. I recommend only loading the RAWs to avoid duplicate images (as you will not be able to easily distinguish between the RAW and the JPEG)
- Duplicate images DO show up (awesome!). If you have already loaded the file, and you try and load it again, it will not allow you as it will say it’s already in the catalogue. However, if the files have not yet SYNCED the duplicates will not show until later. I suggest taking your time working through your collection to minimise double ups and unnecessary uploads.
- Uploads are fast – much faster than Google Drive. My calculations were correct and my entire library only took about 5 hours total (taking out some mistakes I made with the catalogue and some changes).
How to set up Folders and Albums:
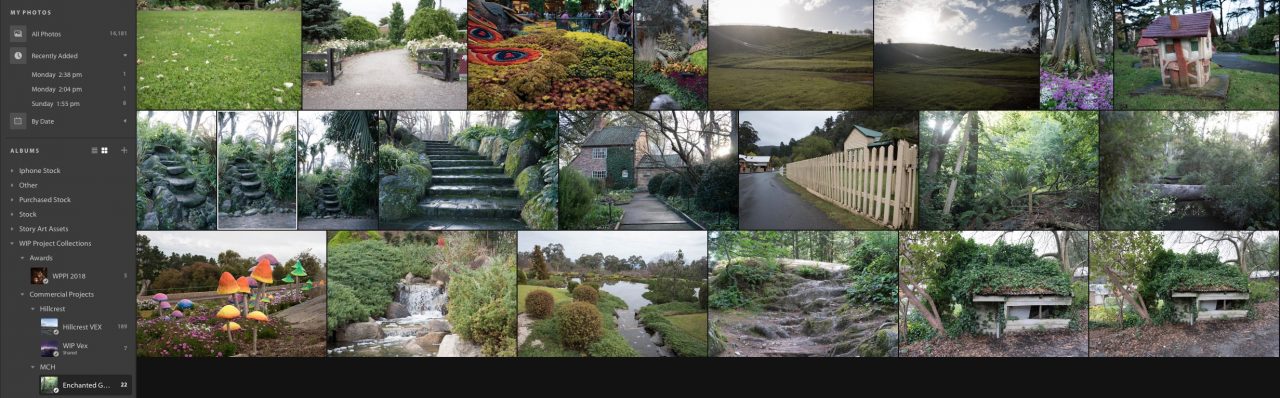
Even though the power of Adobe Sensei makes it easy to search for images in Lightroom CC, it’s always good to have a great folder structure. I kept mine similar to my original hard drive but made some improvements.
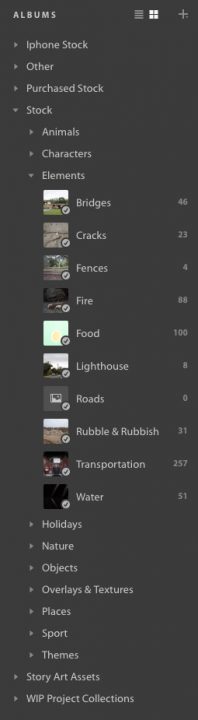
I store my images with folders that encompass a particular theme, then within that albums that contain more specific images.
I have folders for my Stock, for my Iphone Stock and for my Working Files
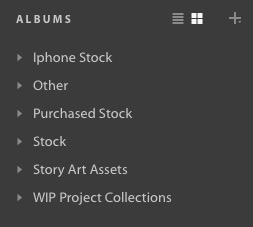
Within my Stock Folders are Themed Folders
Within the Themed Folders are Albums that contain relevant images
The great thing about Lightroom CC is that if I move these around on one computer, or even on the web or on my phone, the changes immediately sync on all devices. There are no discrepancies.
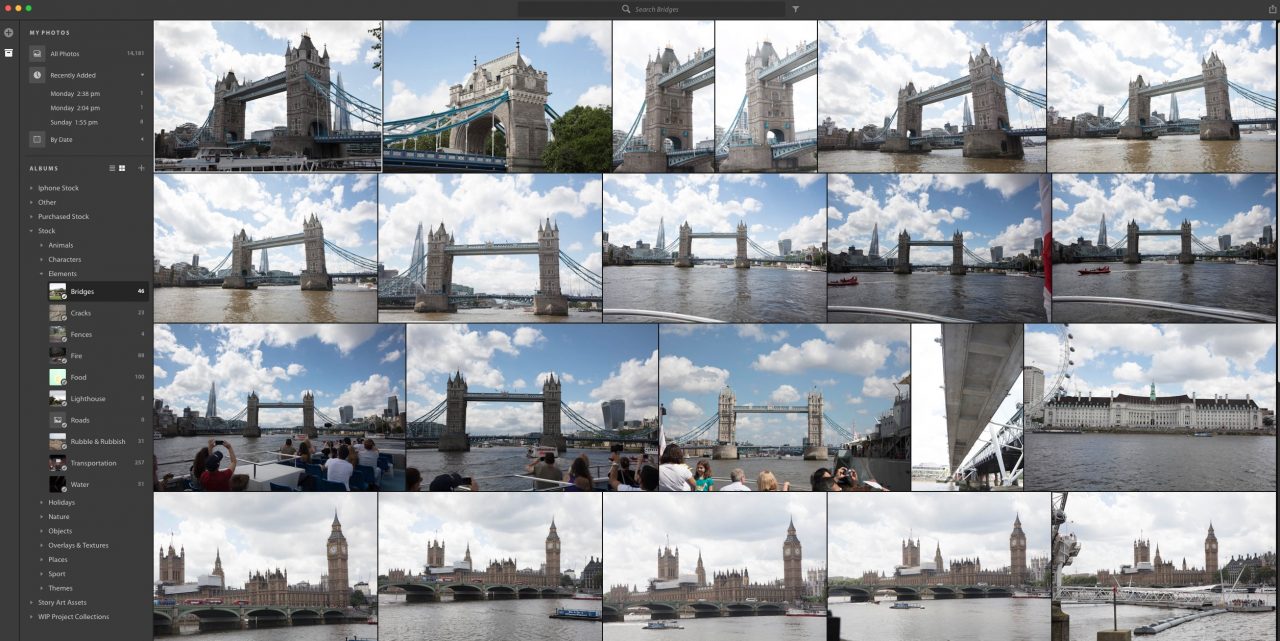
You can have images in multiple folders and albums at one time. For example the bridges above may also be in a London Folder, and a Water folder. Having them in multiple folders does not duplicate the image or the space, they are just referenced from the original.
In Lightroom CC either ON THE WEB, on your desktop, or on your mobile, you can edit the RAW. Those changes will reflect on every device straight away.
But why is Lightroom CC so revolutionary for the composite photographer… Is it just the storage?
Let’s talk about Sensei Searching
Smart Searching with Adobe Sensei
As I mentioned earlier, I’m not that good at sorting. Yes I have folders, and albums, that all helps. But I never keyword, never. What if I’ve forgotten some of the images I’ve shot. What if I want to find a type of image and don’t know which folder it is in.
Enter Adobe Sensei…
Let’s just say I’m building an Enchanted Garden scene. I want to find all the ‘Garden’ images in my library and create something from them.
Click on ALL PHOTOS
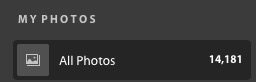
Go to the Search Bar
![]()
Type the word… In this case – Garden
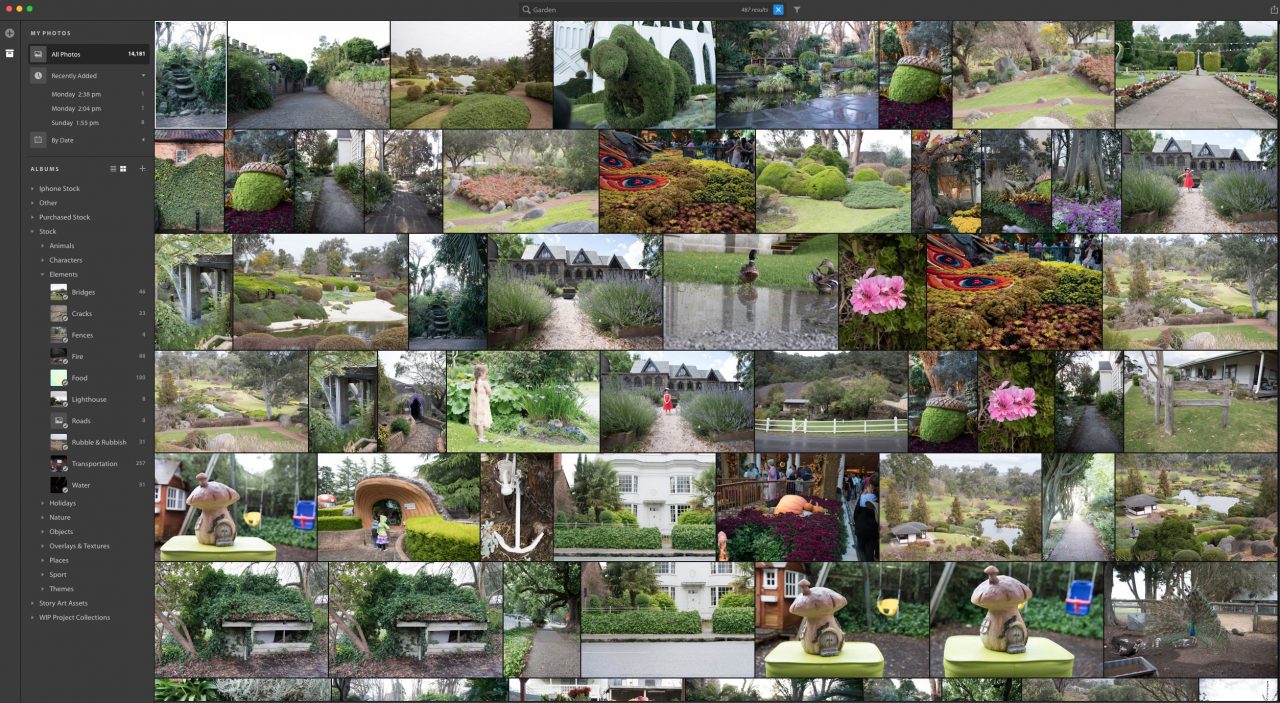
Amazing! 400 results of images that represent Gardens, from ALL my stock library. It’s not perfect… But it’s very close. And from this search I can rate, pick, reject and pull into new folders. For example a selection of these images can be easily loaded into my Work In Progress – Enchanted Gardens album by selecting and dragging in, or picking and sorting via filters.
Other amazing features include being able to share certain albums as public. For a long while now I’ve shared my Free Sky collection with you all using Adobe Albums. I can now easily add to this.
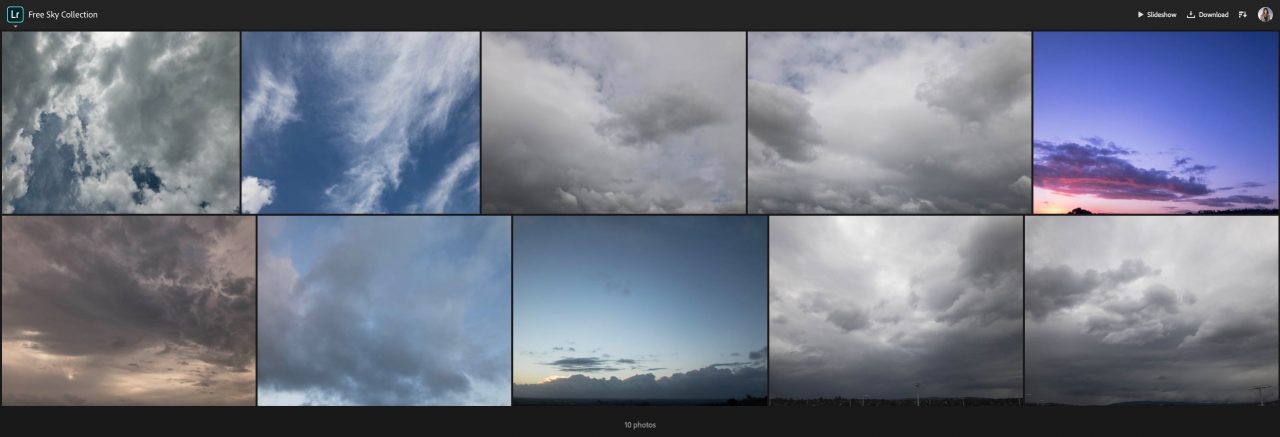
Download your Free Sky Collection Now!
Please add this feature Adobe…
After a week of working with my full stock collection on Lightroom CC I must say I’m really impressed. I can work fast, even though I’m accessing the files off the internet. I can sort and download to my hearts content. When I come back from a shoot I want to add my images straight to my stock collection I simply put the card in and import to my chosen folder. The upload takes an hour or so to sync, but I can still work with my files immediately while that is taking place.
But, there’s one thing missing…
Please Adobe, please add ‘Open as Smart Object in Photoshop’.
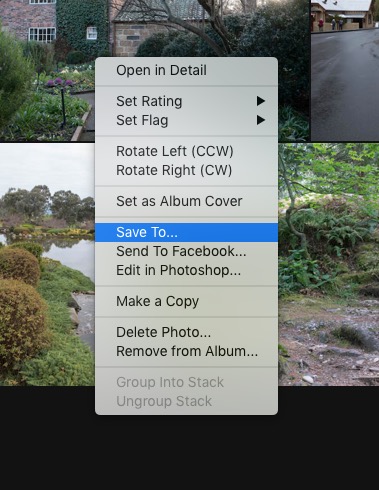
For those of you who have come from Lightroom Classic, you will be aware that you can open as a smart object directly in Photoshop by right clicking. This option is not present in Lightroom CC. When you right click the file you are given the following options:
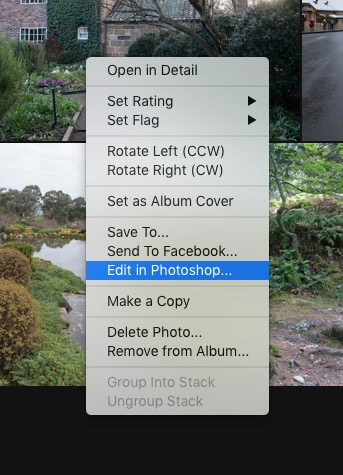
Edit in Photoshop will open the file in Photoshop and link it to the Lightroom CC catalogue (so when you save a new version is loaded back into Lightroom CC). The problem with this is that it’s not a Smart Object and you lose all that RAW data.
So how do you access the Smart Object?
My work around is to SAVE TO –
Choose where you want to save the file and make sure you choose Original & Settings. This will save your RAW Edits alongside the RAW.
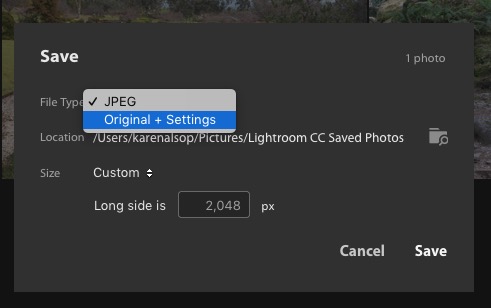
Once you’ve saved you can open that file in Photoshop
And if you have the same settings as before (read the start of the article about setting up Camera Raw Workflows) your image will open as a smart object when you click ‘Open Object’.
If you are anything like me you love improving your workflow. Compositing is a time consuming art form, and any process that makes the repetitive tasks easier, and makes your files more accessible is a welcome addition!


[…] Tethering to Capture One is speedy. I’ve created a custom workflow that gets me straight into Photoshop from Capture One and opens up my images in Camera Raw, followed by converting them into Smart Objects ready for editing into my composite. See this post for further detail: https://storyart.education/catalogue-stock-collection/ […]